
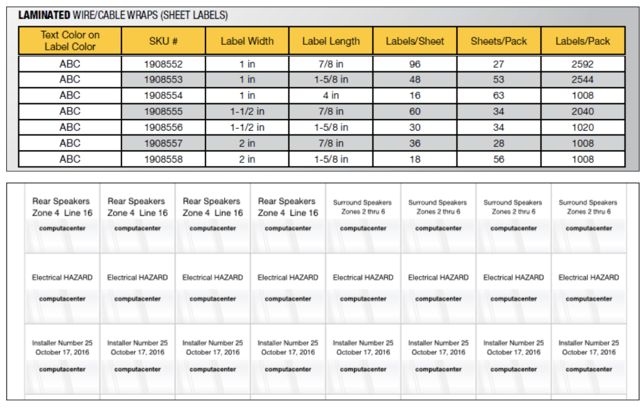
Printing, cutting and attaching wire and cable wrap labels on site can be time-consuming and tedious, but there is a way for you to saves LOTS of time and money – by creating and printing Self-Laminating Wire Wraps on your office laser printer and carrying these sheets to the job site. Then just “peel and wrap” these labels to your wires as appropriate. The clear “tail” on each label protects the printed data, keeps out moisture and dirt, and provides a beautiful, crisp image on every wire or cable. DYMO offers several sizes of “print zones” with varying lengths of clear tails to completely protect your printed message. And one SKU even has a 4” long tail so you can ID “bundles” of wires and cables while still covering and protecting the label data. Download the FREE DYMO ID software at: http://www.dymo.com/en-US/online-support
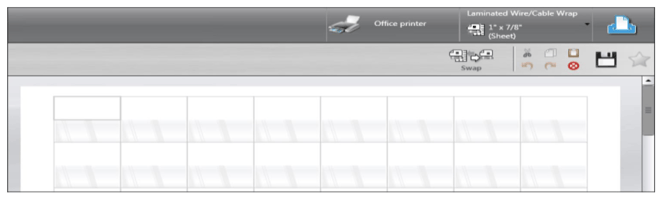
Once booted up, at the home screen, click the XTL 300/500 drop down arrow and select the “Office Printer” option, which will then look like this:

The software will “block out” all label apps except the “Laminated Cable Wrap” option:

Click this option, and a sheet label “grid” will appear on your screen:
You can now follow the instructions found in the DYMO ID User Guide (see attached pdf) to populate these cells manually or by “importing” data from excel or csv files. You can even import identifiers from your Fluke LinkWare™ files if you use Fluke electronic equipment.
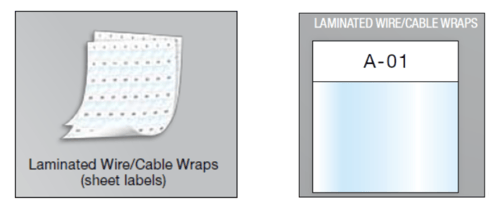
Now just purchase packs of your preferred DYMO Sheet Fed labels from Accu-Tech and you’re ready to create hundreds of ready-to-use wire wrap labels in record time and at a fraction of the cost for individually printed labels.
(Available on cartridges too!)
You can always use your Legacy Rhino printer to create Vinyl Wire Wraps for those labels which are not on the sheets. Or, use a DYMO XTL printers with Self-Laminating cartridge to match your “one off” labels with those supplied on the sheets. Either way, you’ll save lots of time and create long-lasting, professional-looking wire IDs on all your work.

.webp?width=58&height=58&name=youtube-app-white-icon%20(1).webp)